Bombshell Wings DIY – Part 2 (labor)

It’s not that hard! Just a little time consuming, so grab a friend and do it in half the time. Winner gets to wear them first!
Scroll to the end for the full video. I did not record the first 2 steps (but do have pictures below!)
Okay, first thing’s first. Get all your supplies.
Check part one for the details and Amazon links, but a quick run down:
*Copper wire
*Cutters
*Glue and glue gun
*Sharp scissors
*Mesh fabric in similar tone as feathers
(such as tulle or similar)
*Measuring tape
*A sheet of crafting felt in a similar color to your feathers
*Felt ribbon to cover the exposed frame
*2 Large Safety Pins
*Thin flexible wire (I had on hand, but you can use jewelry making wire or similar)
*Detachable bra straps (I like clear ones)
*And lastly, all the feathers (I recommend 450 18-22″ Plumes (save 9-12 extra nice ones for the end!)
Step by Step
Step 1.
(this step is missing in the video)
Cut an 88″ piece of copper wire. As you uncoil from the spool or roll, work to get it flat with no kinks (it’s not going to show, but will help your OCD, you’re welcome)
Fold it in half, and start to bend each half into a cupid’s bow shape.
Exact measurements are not required, but my tiles are 18″ for reference.

Step 2.
Grab a thin flexible wire (such as jewelry wire), and wrap around the frame center as shown (where the white crossbars are in these photos).
This will give the frame stability from bouncing in and out and losing it’s shape, as the copper wire is very bendable.
It will also give you a spot to clip the back piece onto for back shots as shown at the end.
Wrap and glue the black felt over the exposed copper. This will give it even more stability (as the glue that holds the cross bars will eventually fail) – so do a good job wrapping (ETA – if you wrap jewelry wire around the cross bar areas, it will hold up better)


Step 3.
Grab your 2 yards of fabric, and cut down the center vertically, one for each wing. I was lazy and used fabric I had from making my white wings, but should have gone out of my way for a more sheer tulle.
Lay the two strips on the floor next to each other, and lay your prepared copper frame on top.
Fold the fabric over the copper and start gluing over the fabric, pressing the glue gun to the copper frame
Take care to glue both sides. Since this is the whole base, you’ll want to make sure the fabric is ON THERE.
I glued a strip on the top of the copper, as well as the back, once I got it off the floor and onto a stand
This is shown in detail in the video
Step 4.
Lay out your assembled frame. You’ll need sharp scissors (trust me). But go ahead and trim the excess fabric you folded over the frame – all the folded over loose fabric can be cut. As you can see in the example and in the video, I got nice and close to the copper. So feel free to be heavy with the glue, too.
For my method, I also trim the fabric to be closer to the final shape of the wings. Feel free to change it up after you’ve watched or read this tutorial, depending on the size and shape you prefer and how much you want to spend on feathers

FINALLY – WE ARE READY TO PUT THE FEATHERS ON THERE!
Step 5.
The feathers can be prepped for a super dreamy effect. They curve gently, and you can bend them a bit more by bending and working the stem slowly so it doesn’t crease. They do arrive pretty flat, so if you like the curviness of my burgundy and ivory sets, it took a whole lot of bending feathers to shape them that way!


I like my feathers curving outward and to the left for the left wing, and outward to the right for the right. But this is all individual and you don’t have to, they’ll still look great and fluffy! (I also like the back side to bend toward the front a little, it makes it look like they’re hugging the wearer) ♥
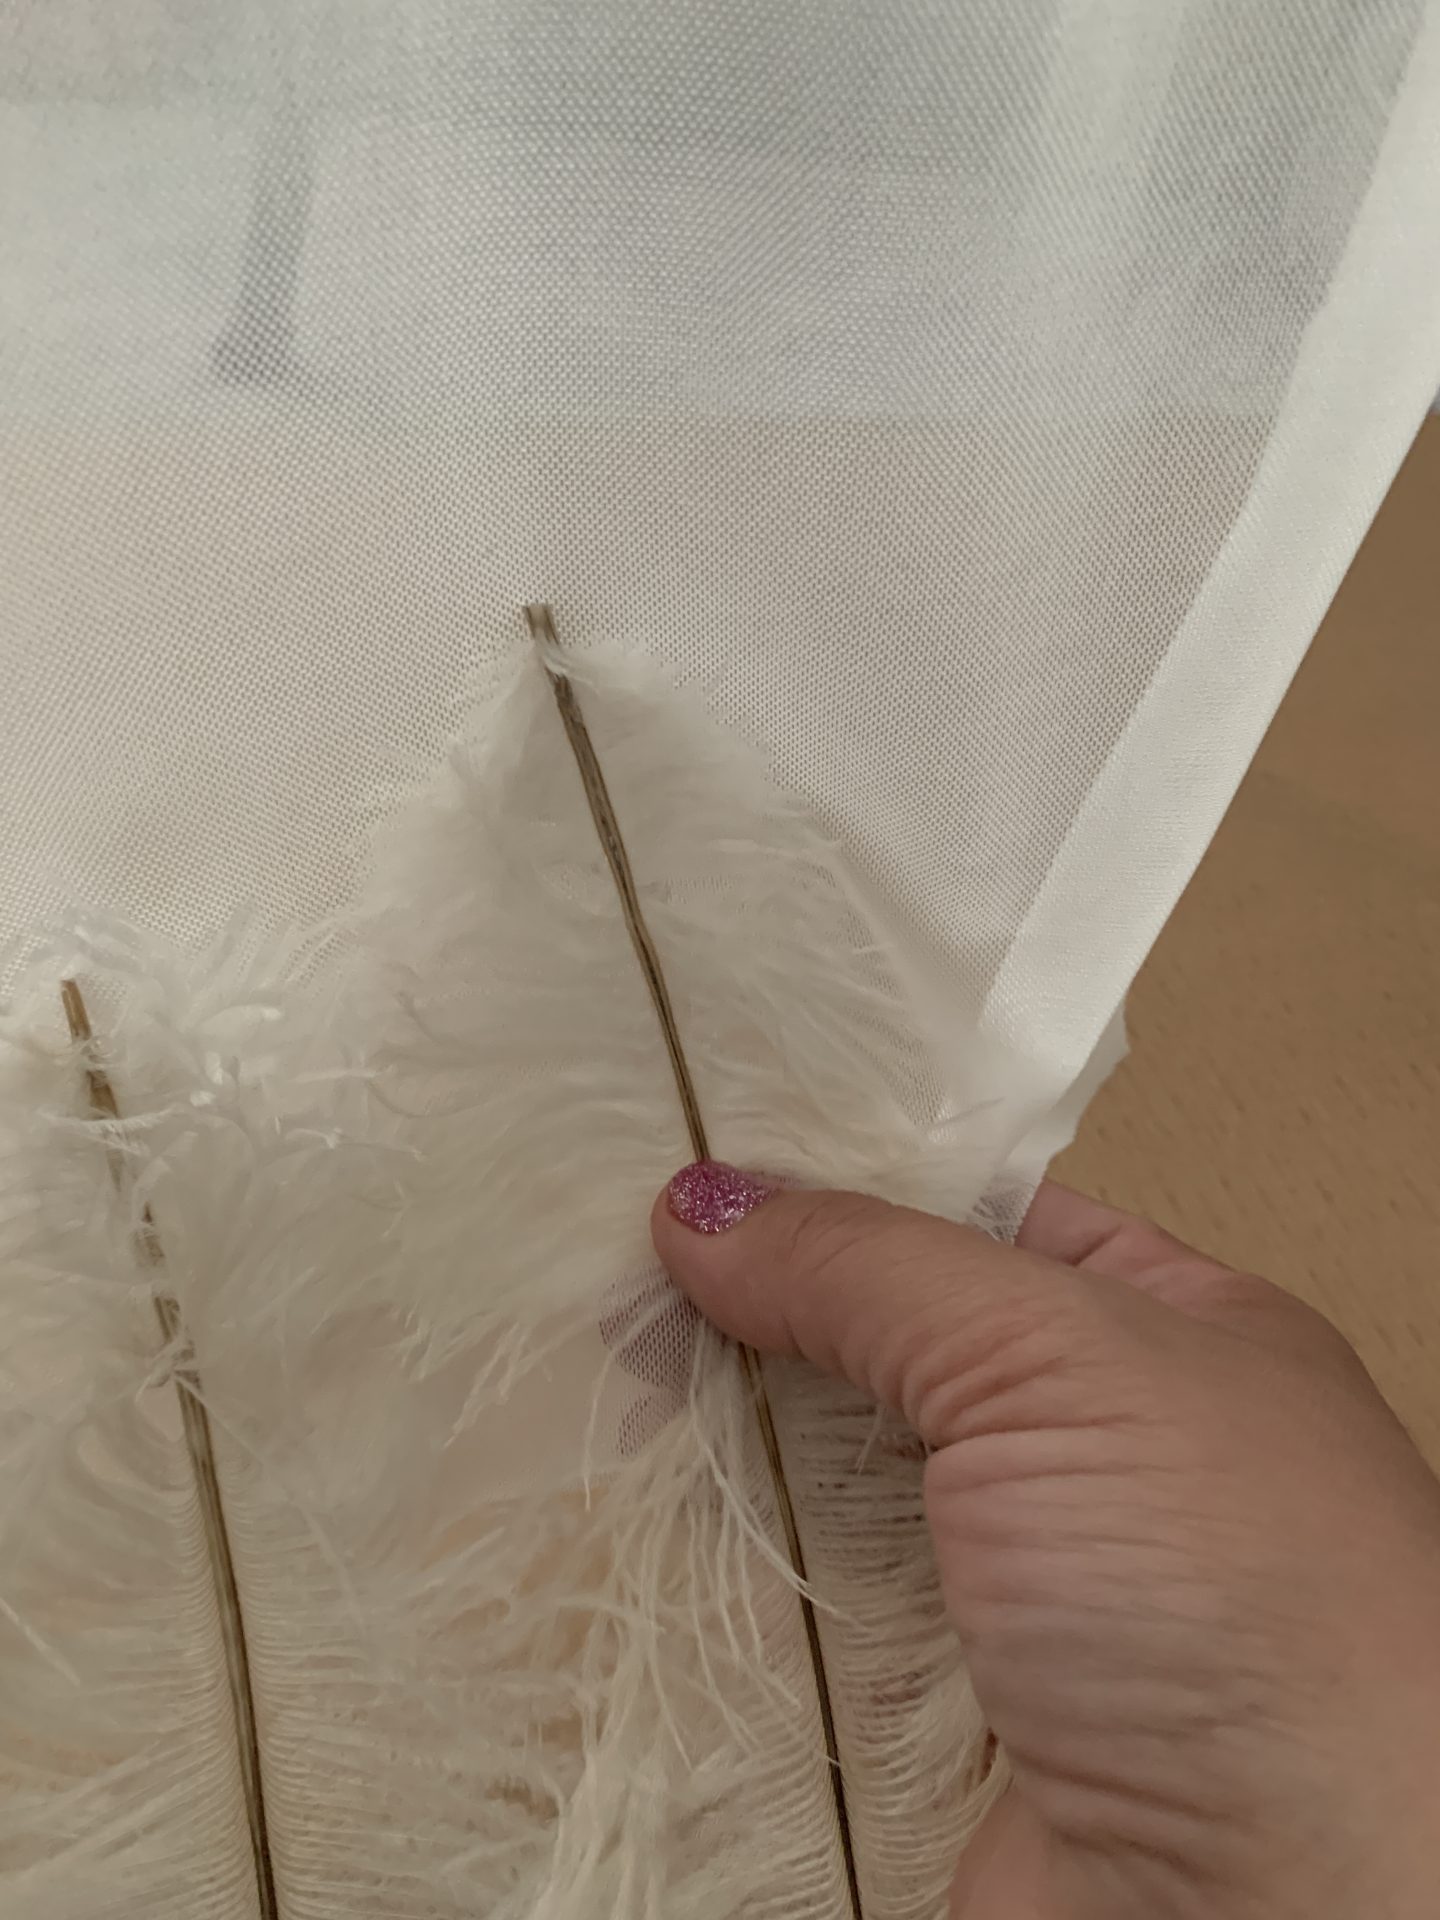
Attaching the feathers is simple. Place a dime-ish sized dot of glue on the stem, but in the feathers (not on the bare quill, just before it).
Place on the fabric while applying a little tension to the fabric. You’ll burn yourself if you try to press the glue dot with your finger onto the fabric directly – not from experience or anything. (they make silicone thimbles for this job). The glue holds almost instantly, and sets up within a few more seconds.
the pattern I like for the top…
It’s pretty straight-forward till you get to the top, where you can start to turn them as you’ll see in the video, plus the funny time-lapses throughout that might be helpful to someone

Step 6.
I didn’t take any pictures of me doing the back of the purple set, but talk about and show this in the video. The extra feathers took A MONTH to come. I did find these pictures from the white set.
About where the elbows would be if you had the wings on, pinch the two sides together in the back and secure with a clip. Check front of the wings for symmetry, then replace the clips with safety pins.
You’ll just want to secure the safety pin with glue after you pinch the fabric ends together. Then glue the folds of the fabric in the tails to itself so it doesn’t come apart (who wants to clone out glue dots?).
If any feathers look weird after you fold the fabric (usually you’ll have one or two right on the edges that don’t want to lay the right way), use the hot glue gun tip to heat the glue and move the feather.


Step 7.
And Finally, finally. The back piece. Use the gap in your feathers as judgement to cut your felt and glue the feathers. As mentioned at the top, you should have saved a bunch of super plumey feathers for this. I glued them on while the wings were on the dress form and think it turned out awesome.
Extend your bra strap to it’s full extension. Loop one end around the frame in the back piece, above the stabilizer bar (confusingly shown below it in this picture), and hook it to itself. Repeat with the other end of the strap, beneath the bottom stabilizer bar, creating an arm loop. Repeat for the other arm.
AND THAT’S IT! I would looooove to see if anyone uses this diy to make a set (or 3!). Tag me on my socials if you do!


